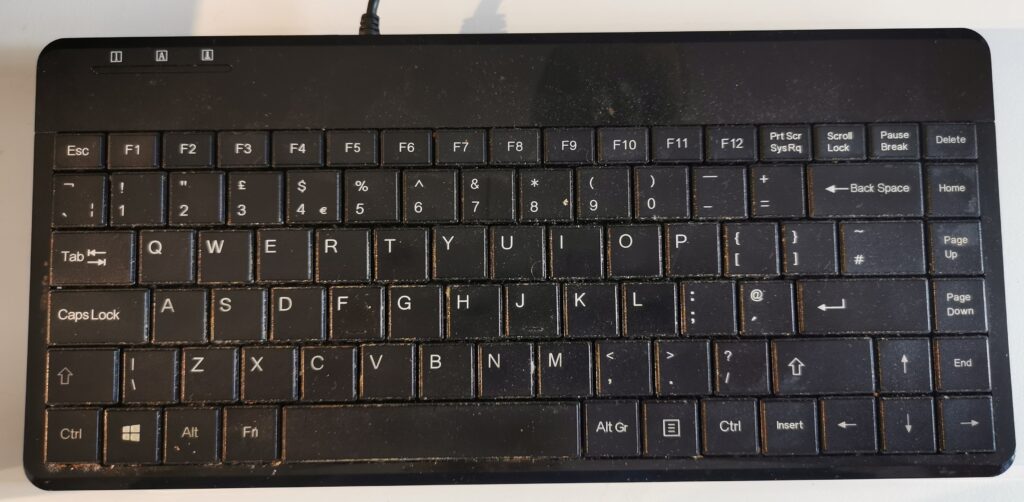
Every computer keyboard needs a deep clean (especially if you eat sandwiches over it), left too long the debris can stop it from working.
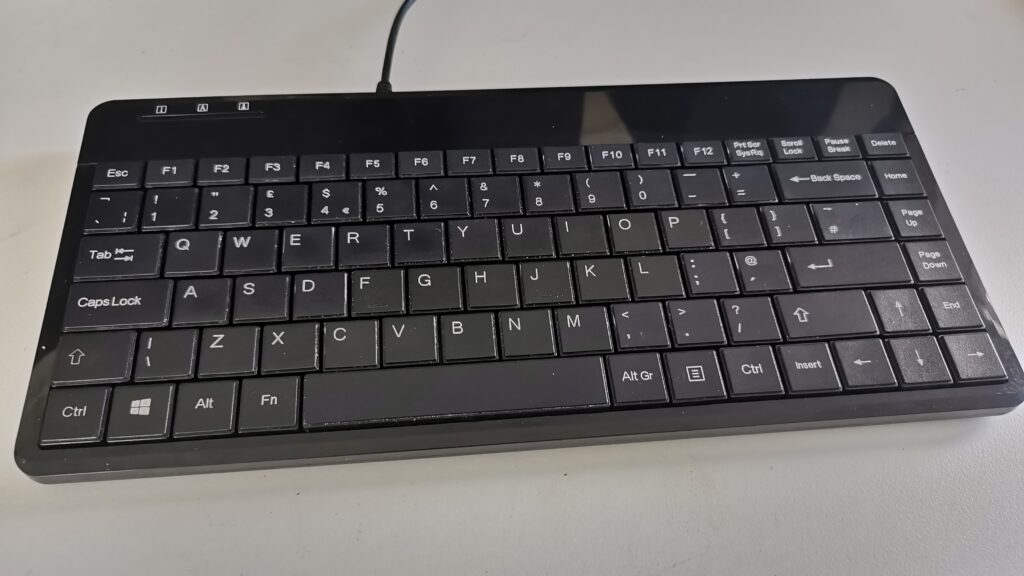
Like many repairs, the first step was to take a good photograph so I knew where to return the keys if they got jumbled.
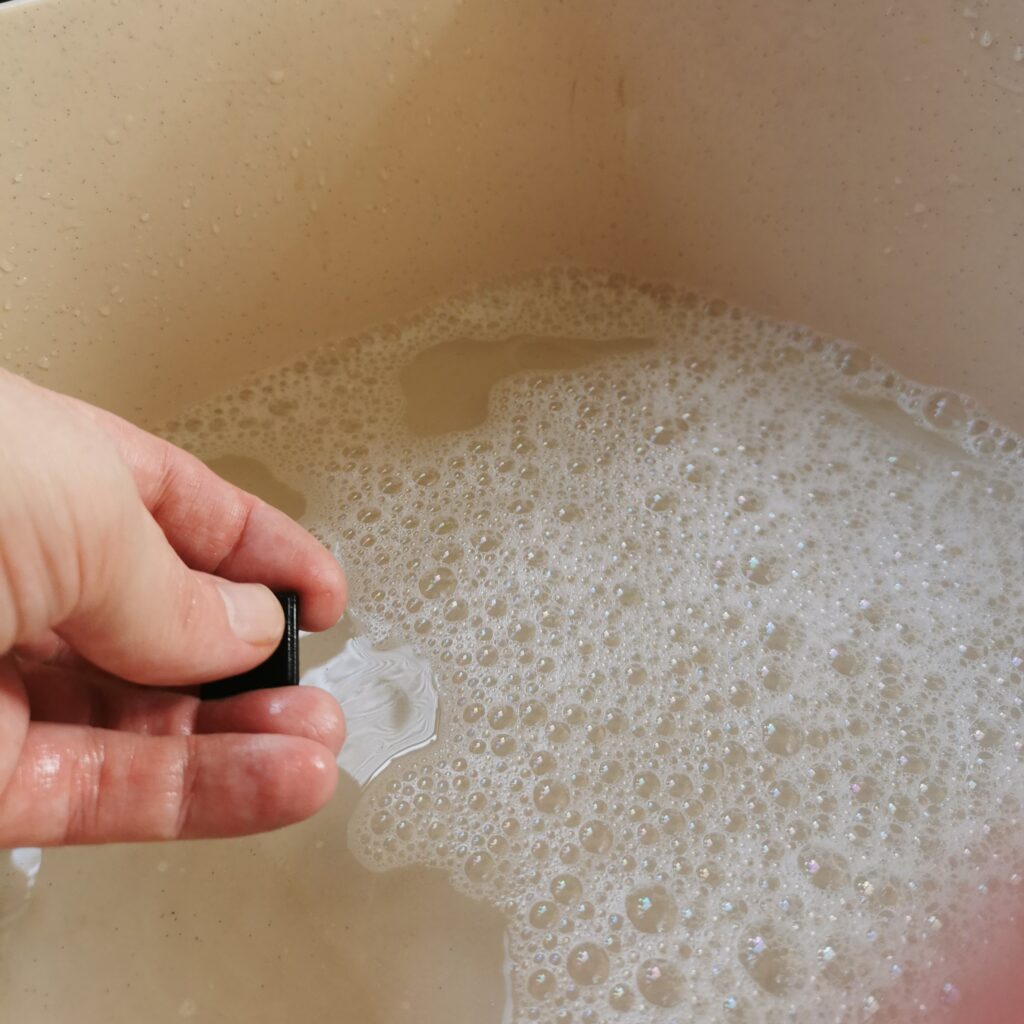
Then I removed them one at a time using a plastic spudger. The first ones are most difficult to lever out, but once the initial ones are removed the rest are easy. I washed each key with soapy water made with household washing-up liquid, laying them on the draining board in the same pattern as the keyboard.

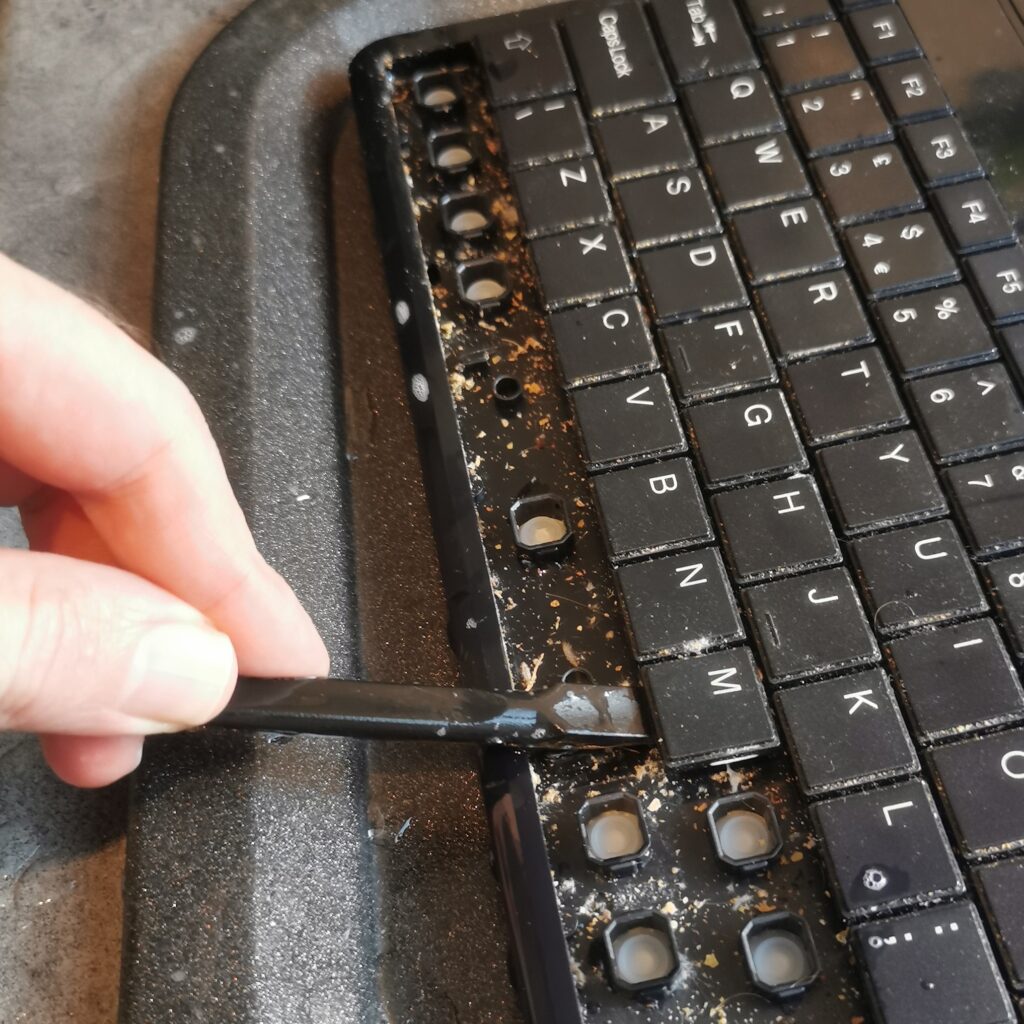
The keyboard body could then be vacuumed out and cleaned with alcohol. When the keys can be cleaned with water, the main keyboard needs to be kept water-free to avoid damage to the electronics, isopropyl alcohol is often a good choice for electronics.
The next day, with the photograph on my tablet for reference, I reassembled the dried keys, cleaning any small bits that needed a final clean with alcohol as I went.
The final step was to test it to ensure all the keys worked correctly.