Our volunteer David P shares with us his repair of his window vacuum. This repair saved him from having to discard the device and replace at a cost of £50 to £100!
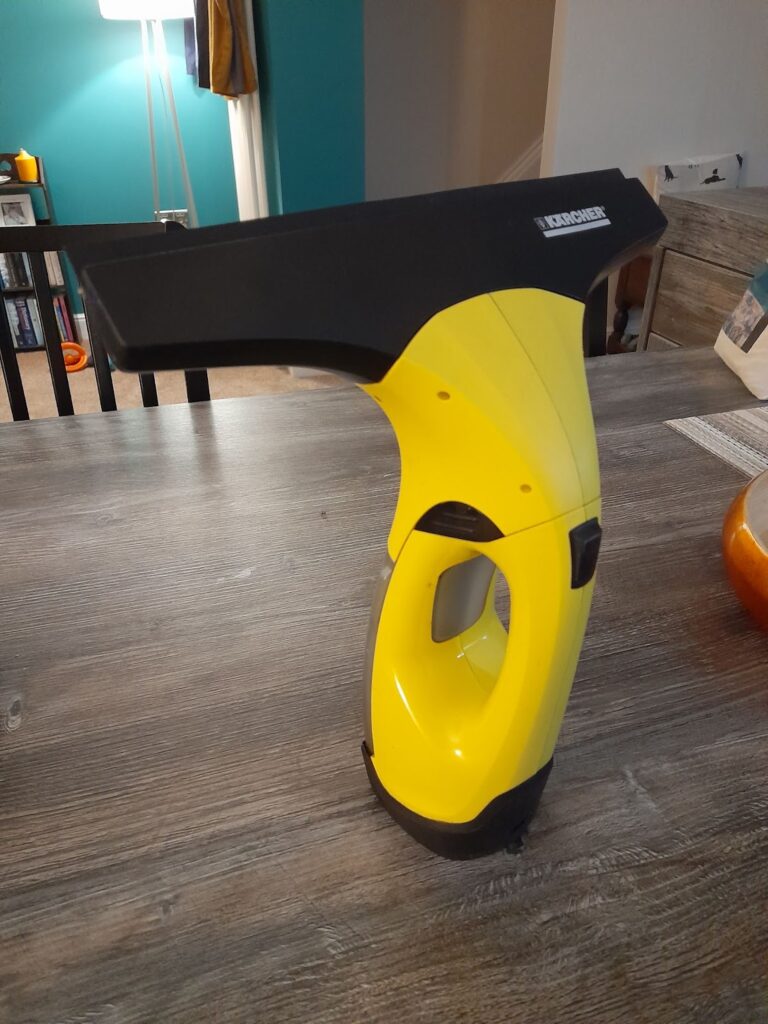
My Karcher window vacuum which is about 2 years old has developed a screeching noise whilst operating. I suspected that one or both of the motor bearings had started to run dry, here are images of how I repaired it.
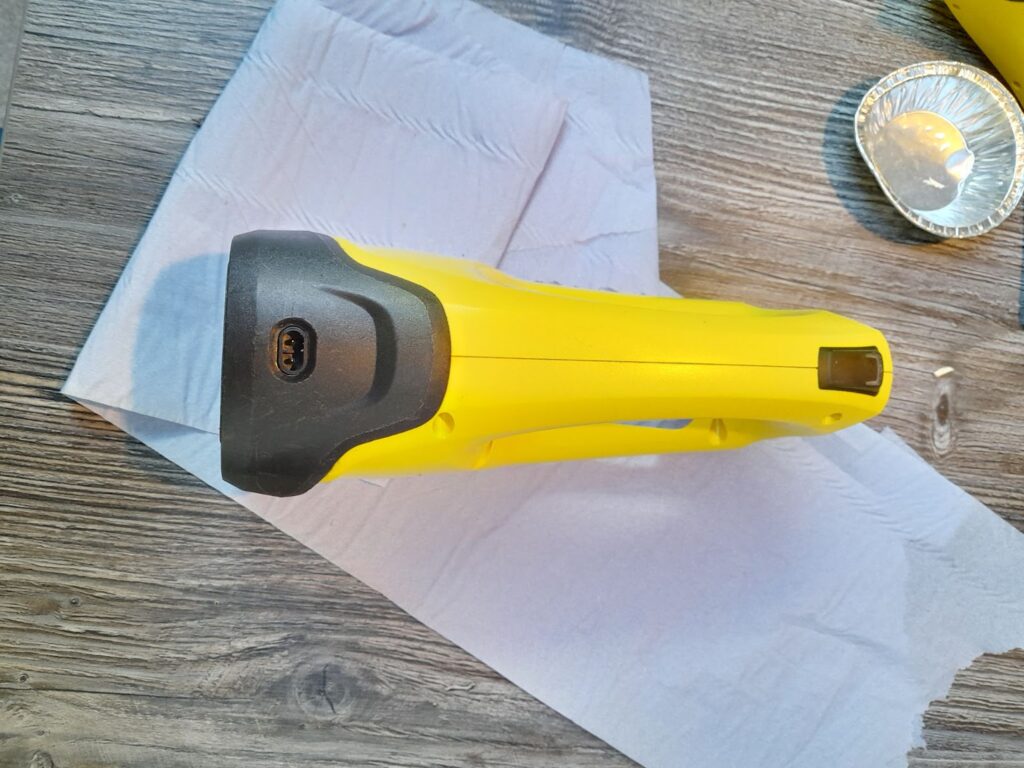
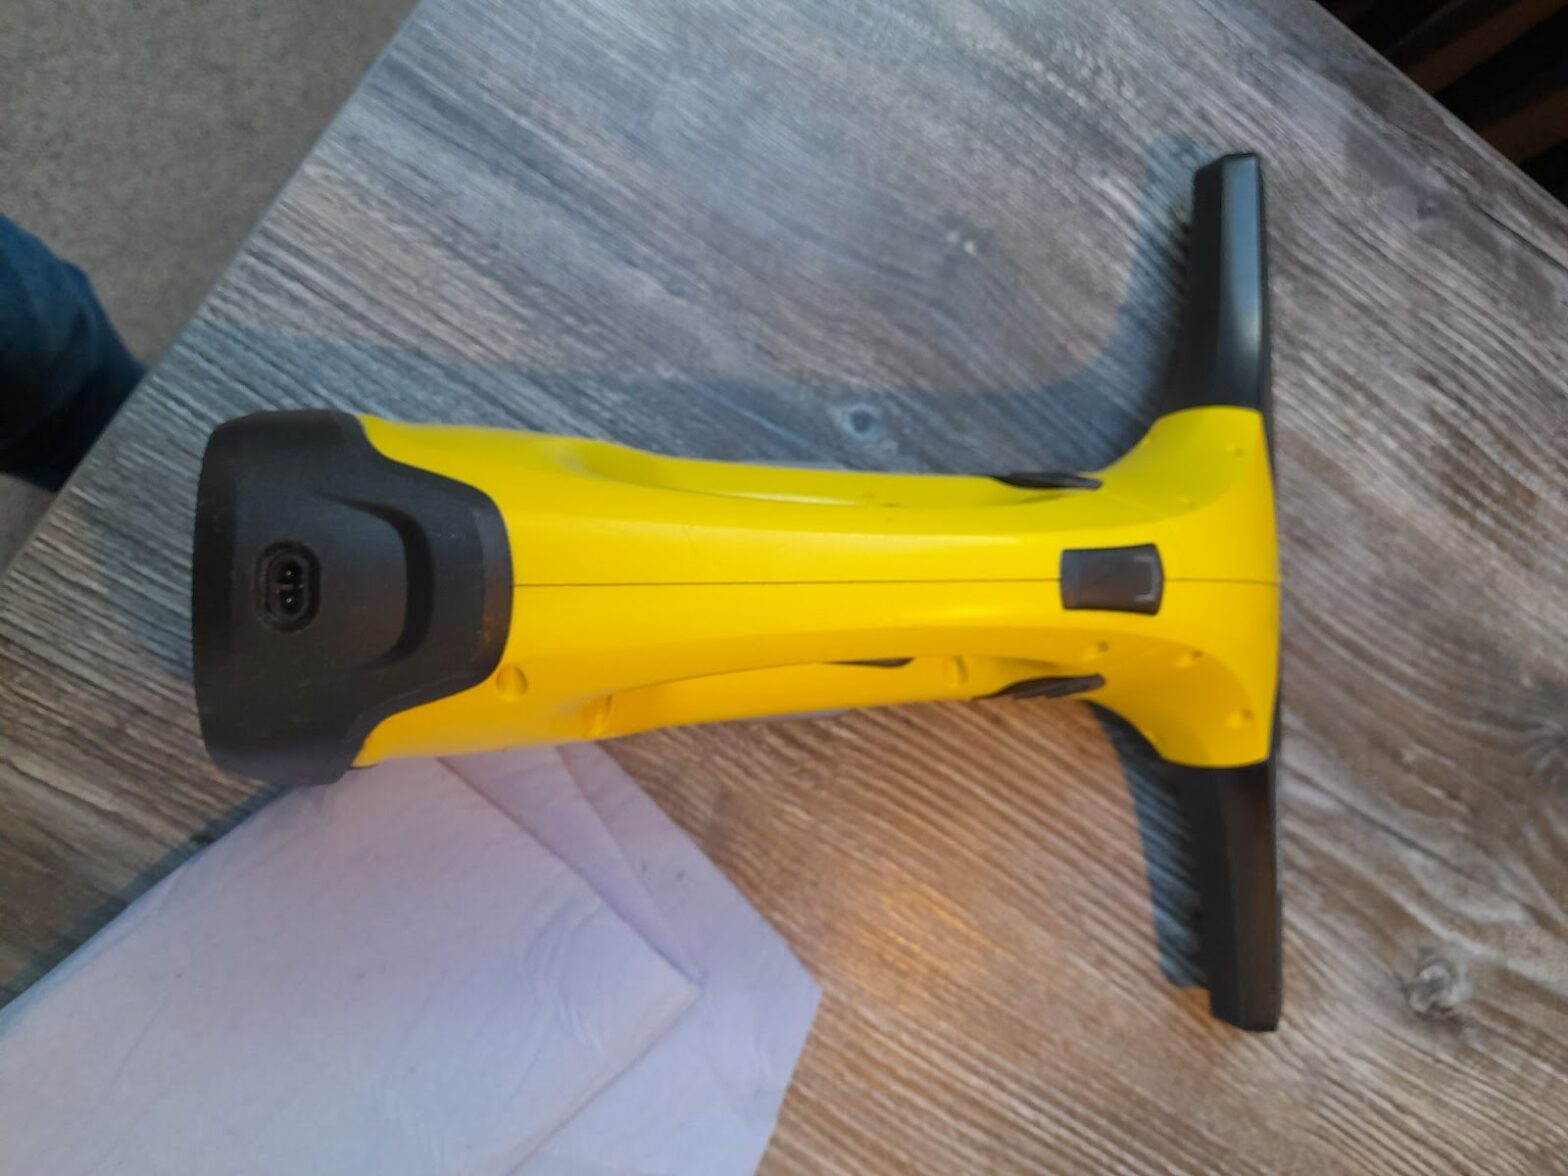
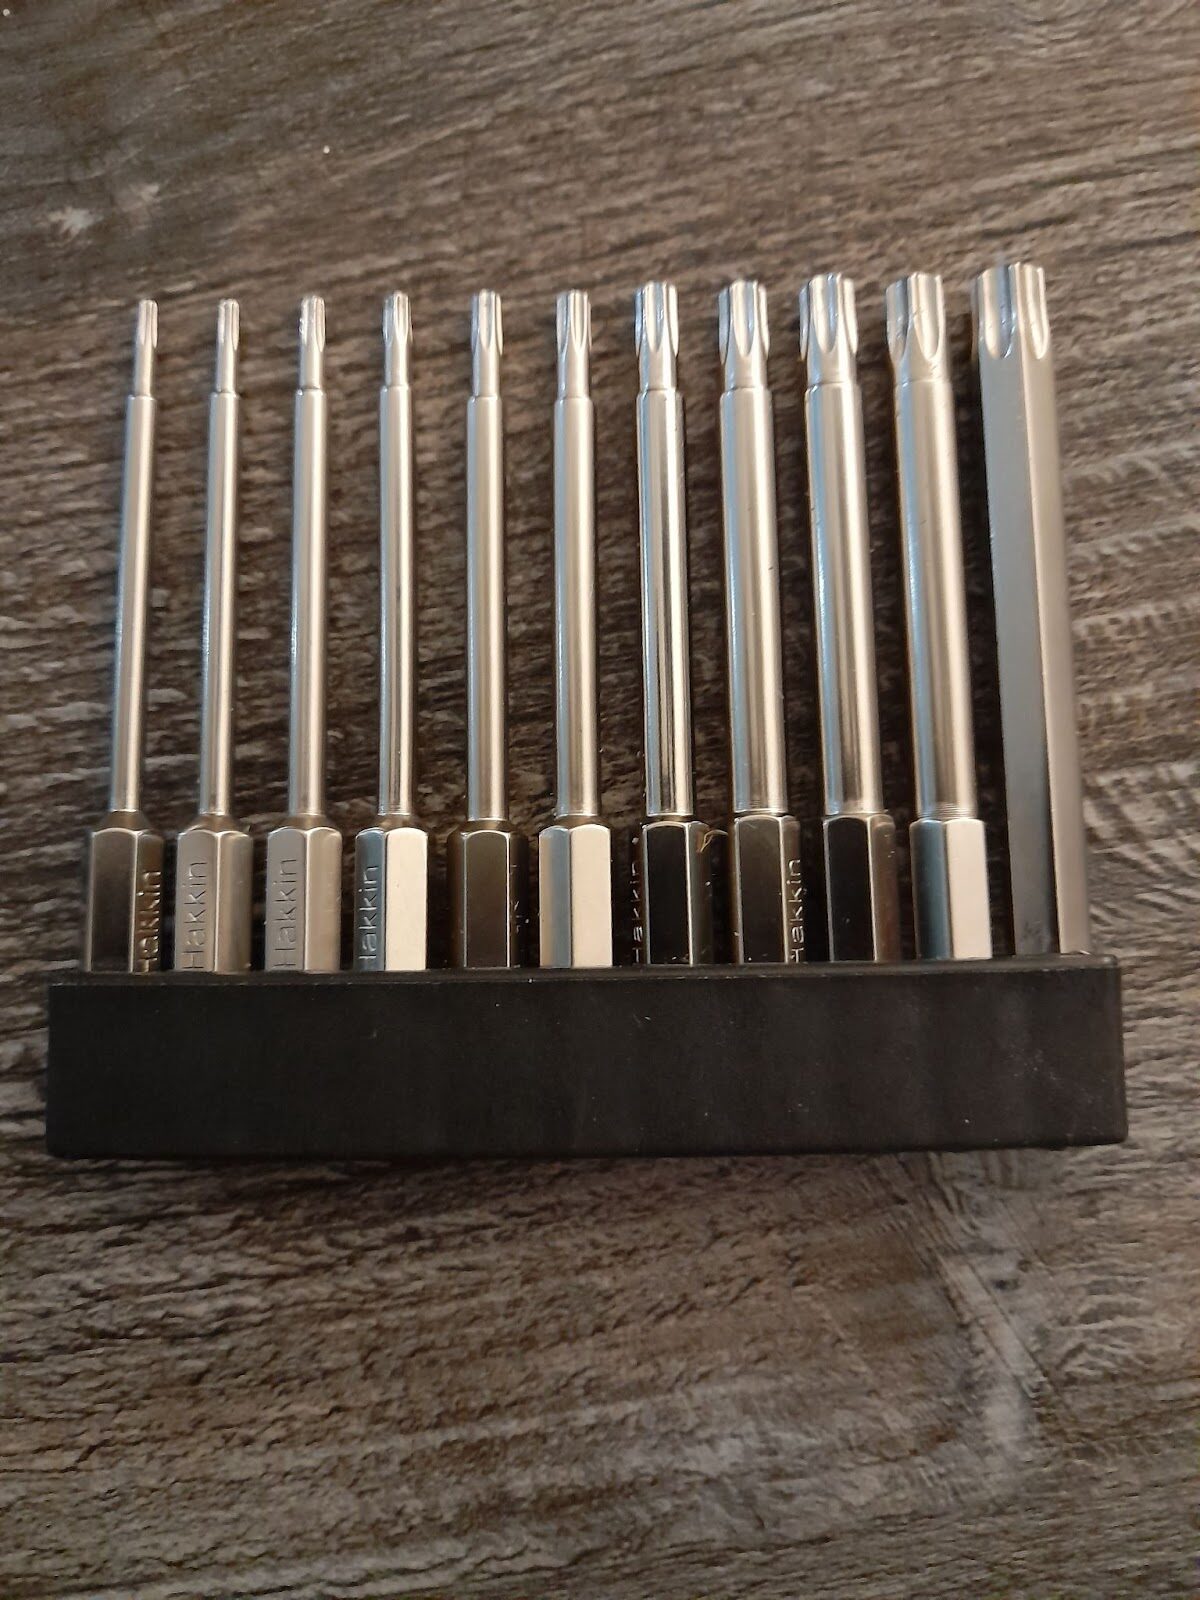
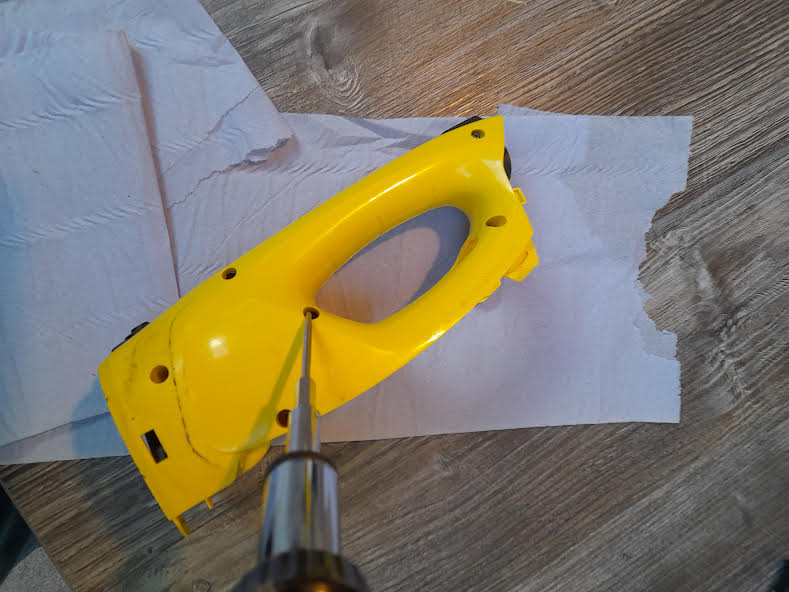
I started by removing the squeegee top and water tank and then removed the base cover followed by the screws holding the two halves of the body together. I had to purchase a set of Torx drive, the T9 bit was required for this repair.
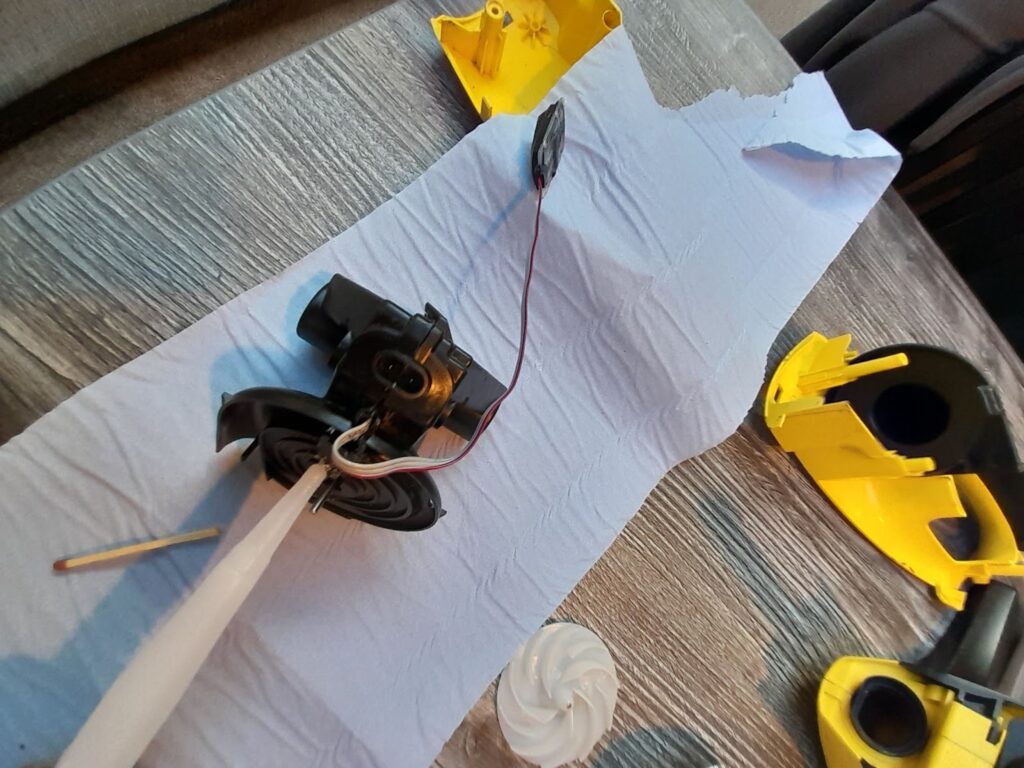
I then started to dismantle the body of the vacuum, which was quite easy.
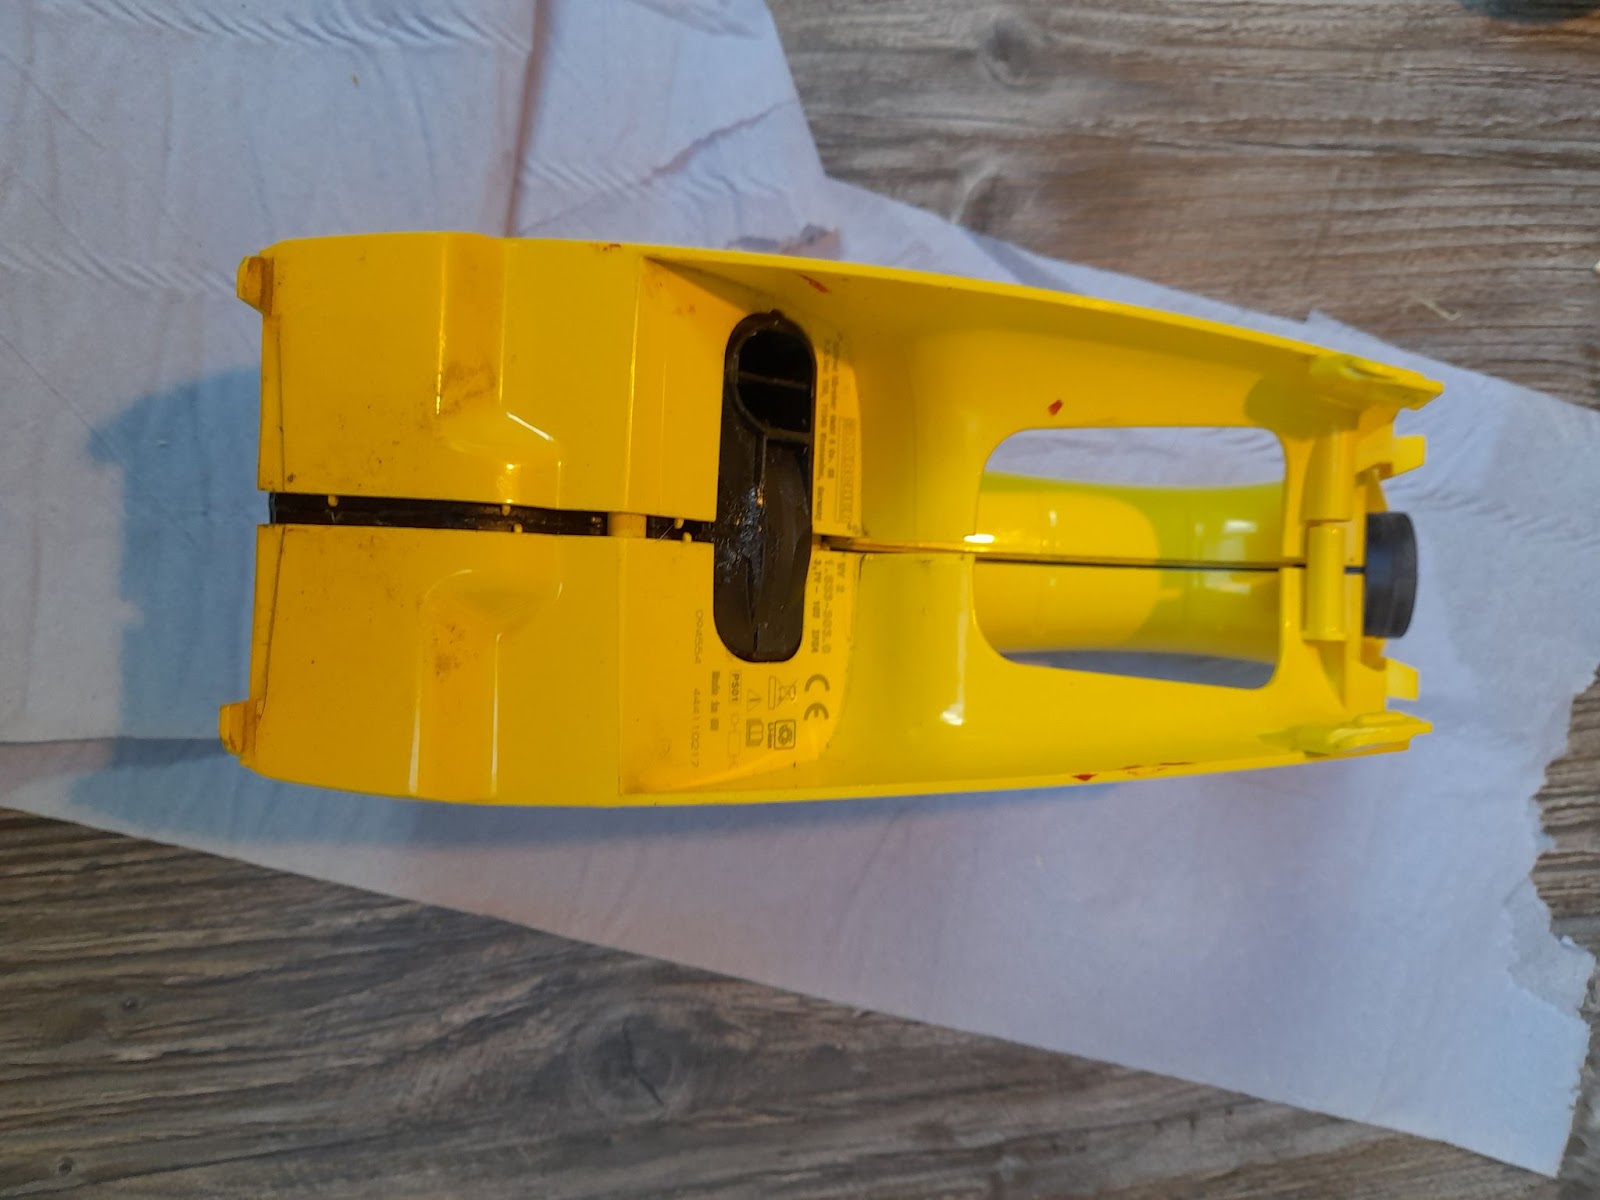
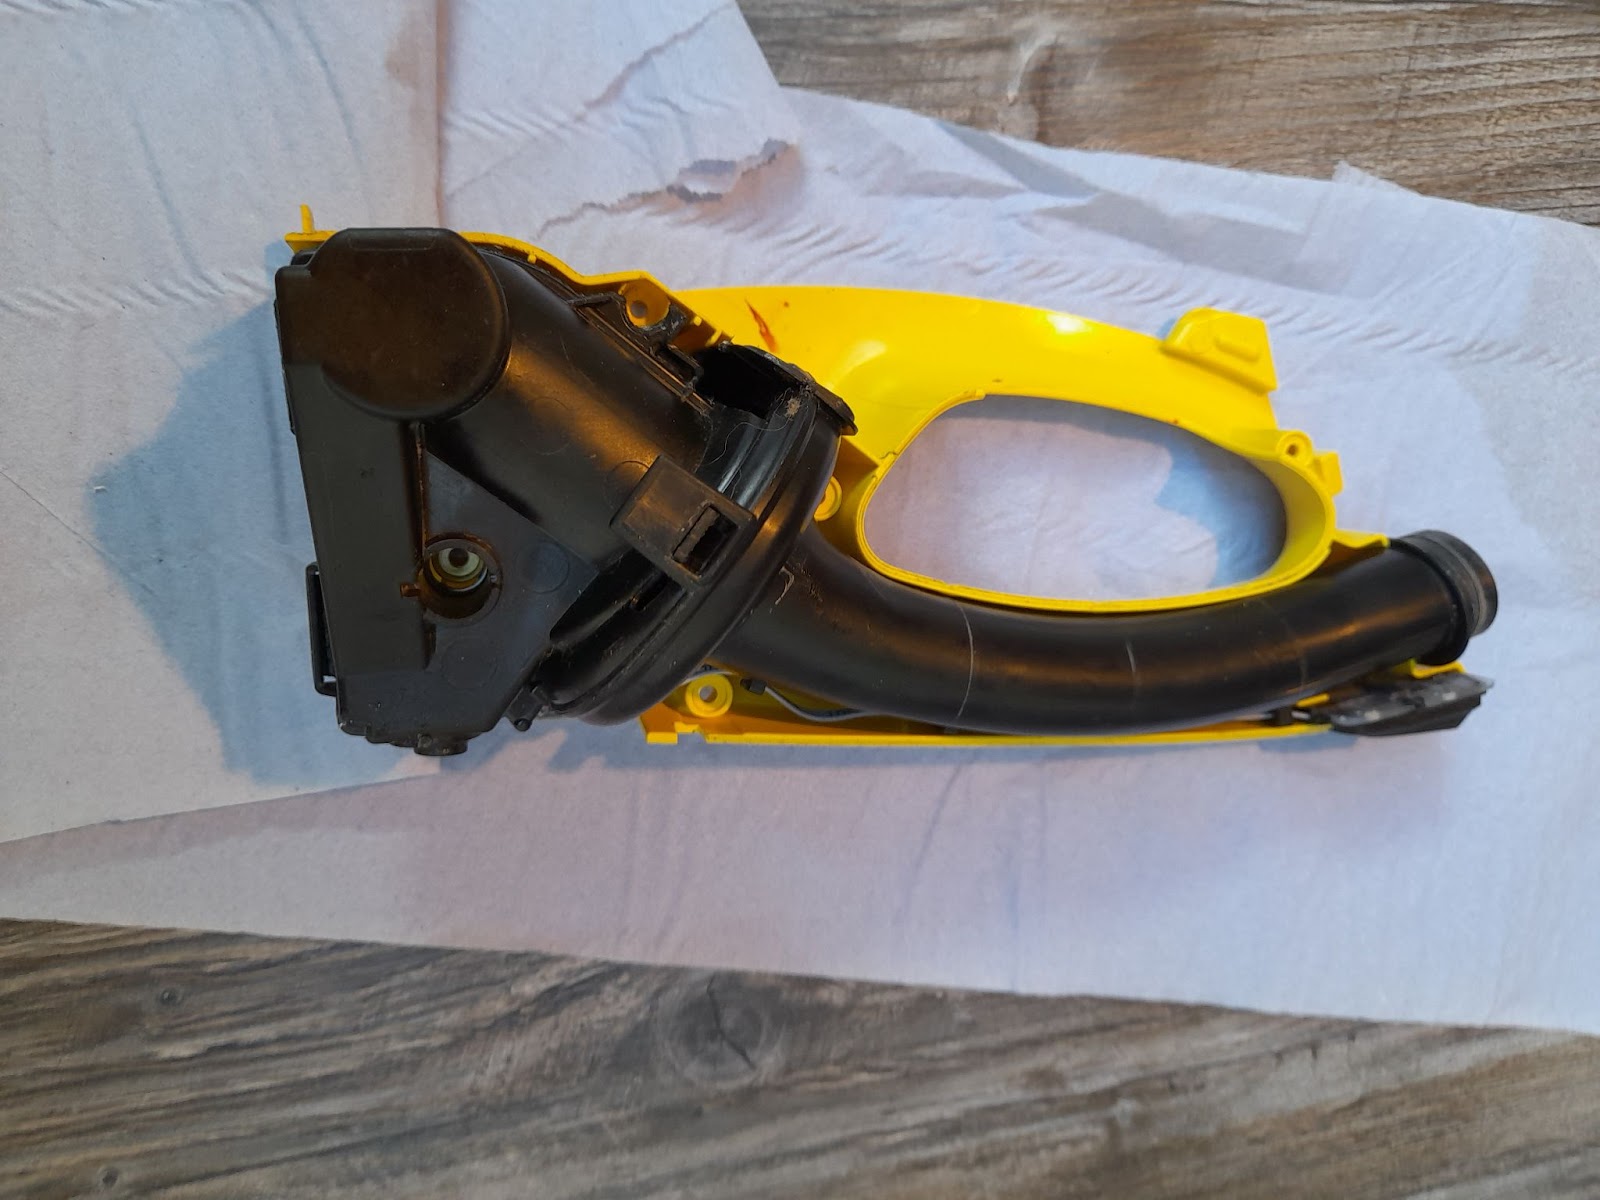
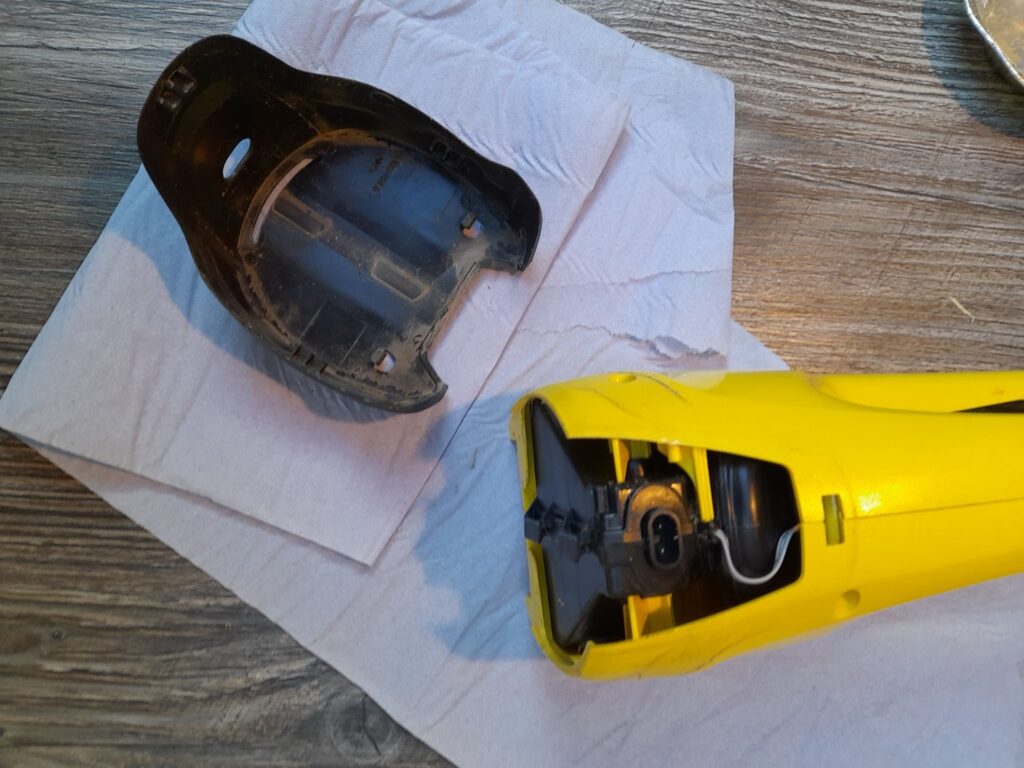
Once the cover was removed the internals of the machine looked very simple and I was confident I could repair it.
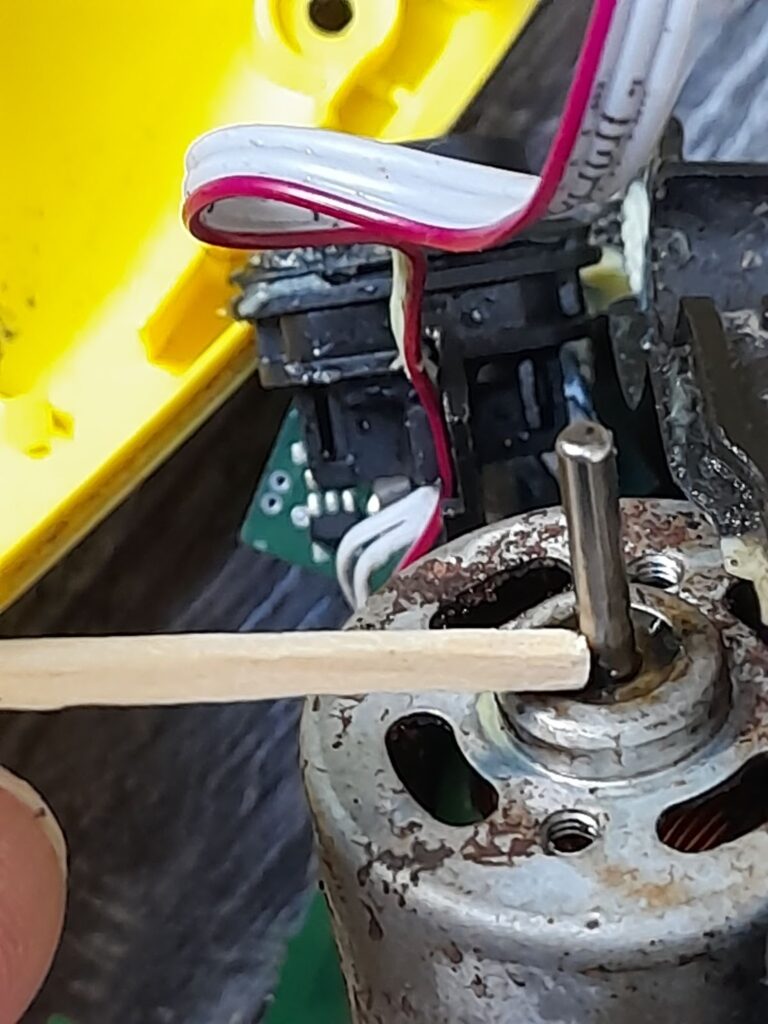
Once I got into the body of the motor I put some oil onto the shaft of both of the bearings with the aid of a matchstick.
I noticed that the motor casing had a seal on the meeting faces so I applied some sealant to keep the motor casing as dry as possible.
Once the sealant was dry I re-assembled the vacuum and tested it. All was working fine and the screeching noise had disappeared!